The crafting process (part 3)

In our latest post, we discussed the initial phases of crafting the illuminated world map, including cutting the two layers of steel with our fiber laser and shaping the acrylic layer responsible for the diffusing light. We also showed how we integrated the LED string into the map, demonstrating the effectiveness of the diffused light through some photos.

Bringing together all components

Once the LED strings have been tested, all components are nearly ready to assemble into a three-layered map. However, before proceeding, we measure and weigh the larger stainless steel parts that will ultimately sit atop the acrylic layers, accounting for potential variations in weight and shape. Following this, we manually drill holes for the magnets that will secure the top layer in place. The photo below illustrates how the system will appear before the stainless steel is added.

Components sercured on wooden panels
Illuminated components sercured on wooden panels

Ensuring safe transit

At MapaWall, our packing process is as crucial as the crafting of the maps itself. We take great care to secure the illuminated world map before shipment to any destination worldwide. Given that the illuminated world map includes two separate steel maps, each weighing approximately 20 kg (44 pounds), we pack each map in its own dedicated carton suitcase. To provide adequate support for these heavy components, we replace the standard carton inlays with lightweight wooden panels within the casing.

Two carton suitcases illuminated world map
Carton suitcases illuminated world map

The photo above offers a glimpse into how the illuminated maps are presented to the carrier, in our case, UPS Capital. While UPS Capital's services may come at a premium, we prioritise the safety and security of our valuable world maps during transit, ensuring they reach their destination without any damage.

We trust that this overview provides insight into the complexity and time-intensive nature of crafting an illuminated map, underscoring its value and worth before ordering an exclusive illuminated world map such as this one.

UPS driver collects a illuminated world map in gift paper
UPS Capital - Collecting one of the illuminated packages in gift paper

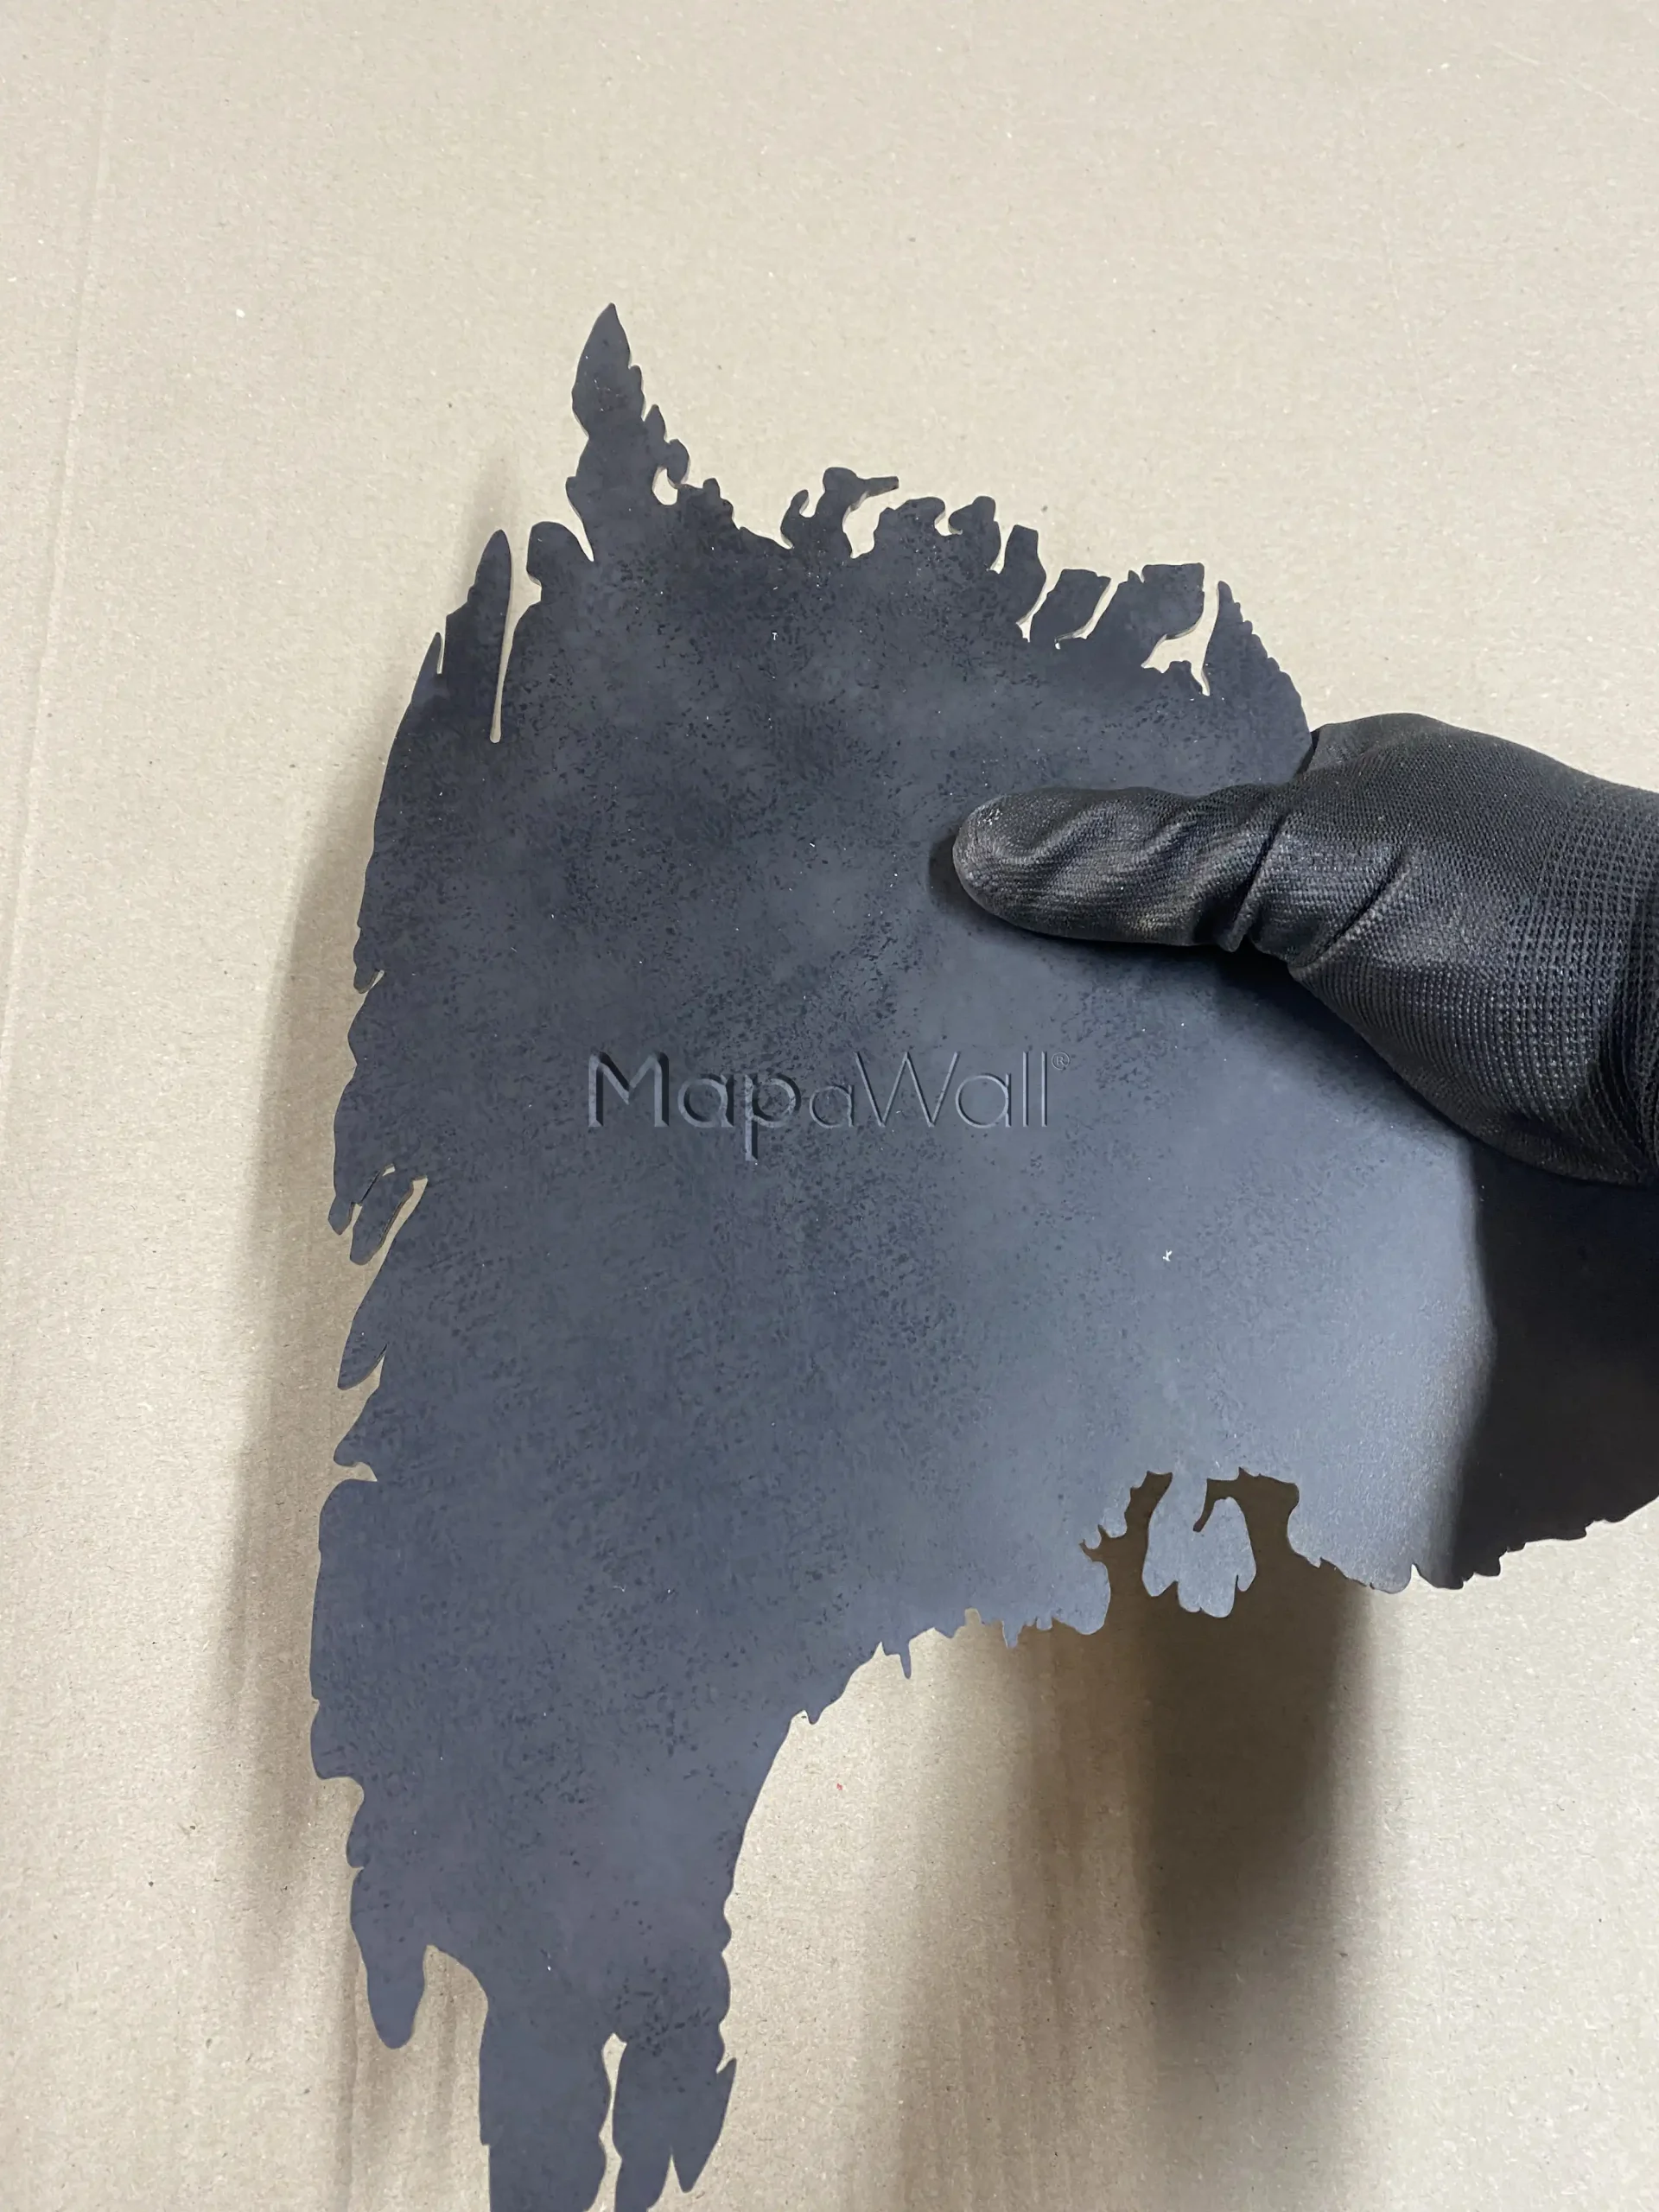
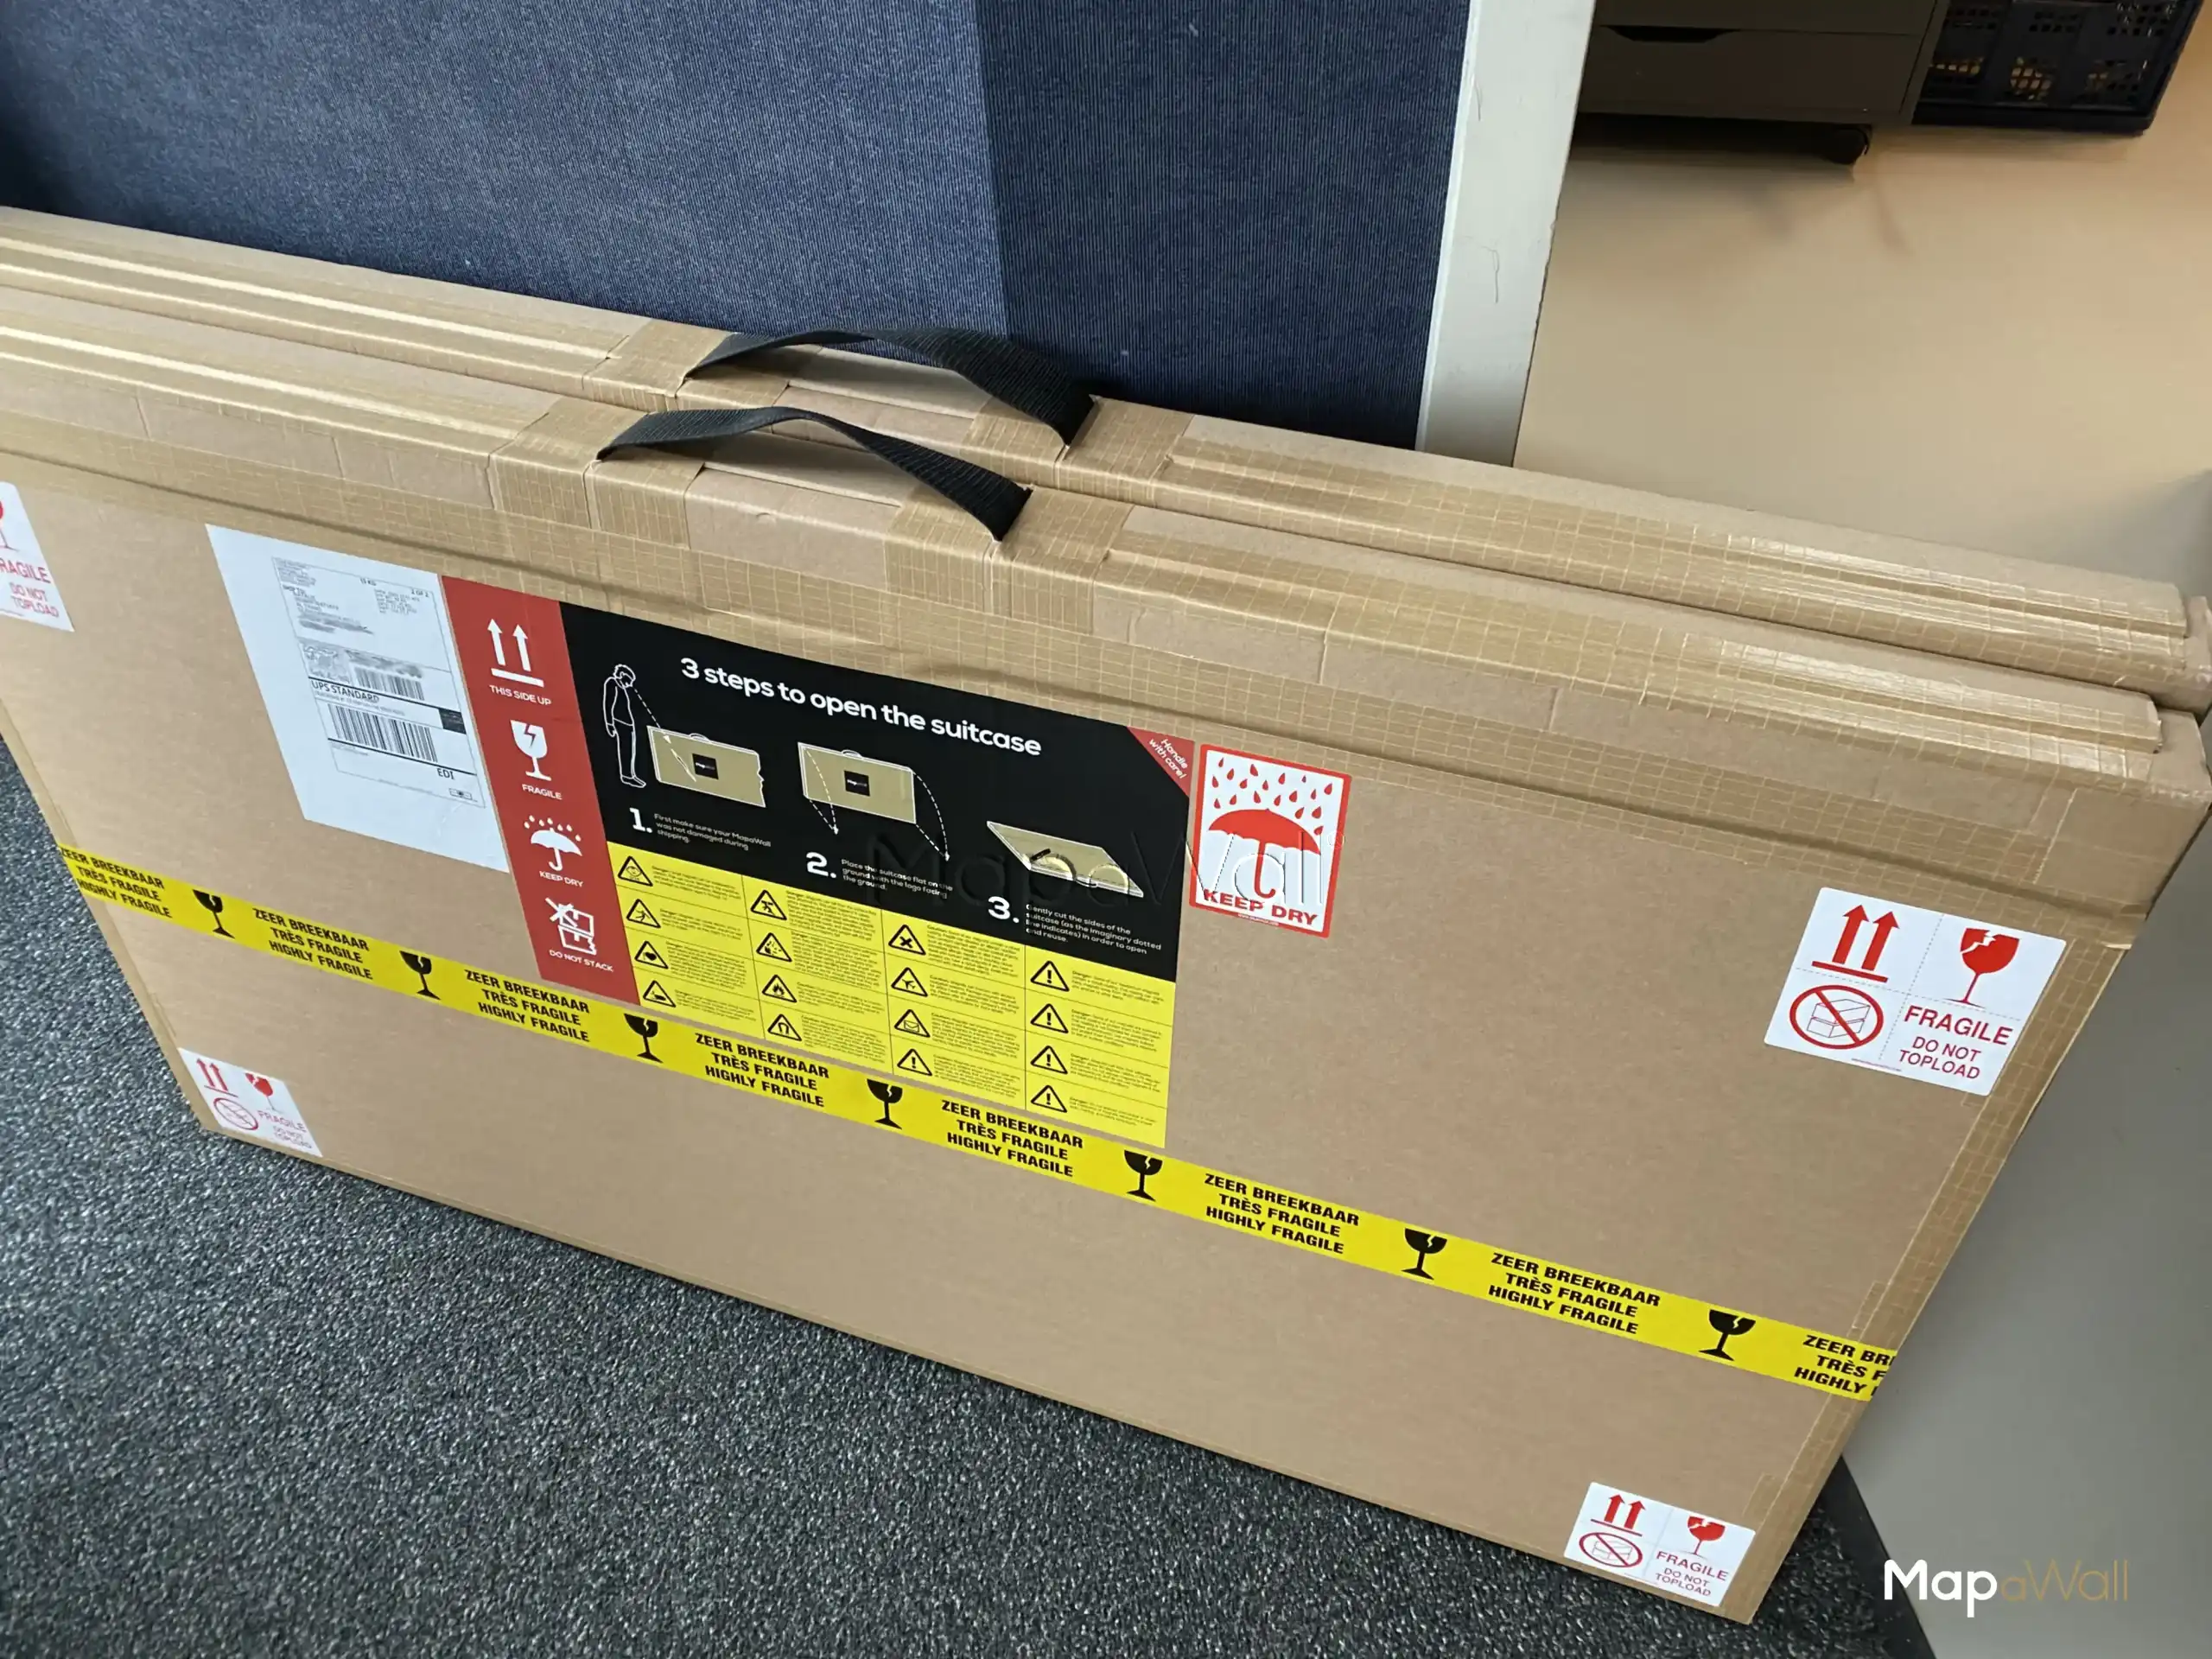
The crafting process (part 1)

In this initial part of a three-part series, we offer insight into the creation process of our exclusive illuminated stainless steel world maps. We take a look into the production of each component and the assembly that transforms them into a singular, magnificent map—a piece that elegantly illuminates your space.

Cutting the corten steel

As you might have already noticed, the illuminated world map consists of three layers of material. The base layer supports the map and serves as part of the magnetic installation kit. The second layer incorporates the LED strip, while the third and final layer serves as the front of the map. Today, we'll take a closer look at the cutting and engraving of the base and top layers, as both are processed using the same machine/technique: fiber laser.

For the base layer, we use a type of industrial steel known as corten steel. Corten steel, although often associated with a rusty appearance, comes in various forms and types. This 2 mm (approximately 0.08 inch) thick corten steel plate is warm rolled and typically features a dark blue to black surface. When we cut the continents and islands with our fiber laser, the edges take on a colour similar to stainless steel. Since the corten steel is primarily visible from the sides, we opt for a more economical steel type rather than stainless steel, which we'll discuss shortly. However, there's another reason why we choose corten steel: its magnetic properties. Given that the corten base layer serves as part of the installation kit, it's crucial for the magnets on the wall to exert sufficient force to support the complete map with all its components. Corten steel boasts excellent magnetic capabilities, making it an ideal choice for this purpose.

The fiber laser cutting the stainless steel for the illuminated world map

Cutting and engraving the stainless steel

After the fiber laser cuts out all continents and islands from the corten steel, the machine's parameters can be adjusted to match those used for cutting and engraving the magnetic stainless steel. However, before cutting, our steel supplier ensures the steel undergoes a finishing process to achieve the desired quality for our illuminated world map. This is achieved through a ceramic sanding process, which makes the appearance and finish of the metal beyond that of brushed steel commonly used for high aesthetic value products.

Following the sanding process, the steel plate is treated with a special oil spray. This oil serves to protect the steel from sparks and small metal fragments when the laser beam impacts the surface. Given the delicate nature of the finish, even the slightest damage from flying debris could compromise the integrity of the piece. Once the fiber laser has cut and engraved all islands and continents, we now have the two metal layers required for the illuminated map.

In the second part, we will focus on fabricating the middle acrylic layer with our CO2 laser and preparing all three layers for assembly into a cohesive whole. If you have any questions about the initial steps of crafting our illuminated map, feel free to ask.

× How can we help you?