Illuminated Marble World Map

In our previous posts, we primarily delved into the world of exclusive illuminated world maps crafted from stainless steel. We detailed the manufacturing process of these stainless steel marvels and showcased their stunning appearance. However, in today's post, we're shifting our focus to a vastly different type of world map – one that may be equally exclusive, yet possesses a completely distinct aesthetic.

Lighting up the stone

While the illuminated world maps crafted from stainless steel are installed using methods similar to other maps produced by MapaWall, each continent and island on the map comes with its own mounting kit, whether utilising magnetic spacers or pot-magnets. Each part of the map is individually affixed to the wall. However, the map we're highlighting today stands as an exception among all other world maps – the Illuminated MapaWall Stone. This extraordinary piece is crafted from authentic Grigio Orobico marble sourced from Italy. Mounted on a large, opaque black panel, the LED lights are ingeniously dispersed through a tempered glass layer, upon which the entire marble map is installed. Remarkably, as depicted in the clip below, the light permeates certain sections of the Grigio Orobico's surface, resulting in a truly mesmerising effect.

Illuminated Stone world map - Grigio Orobico marble

Cut by water-jet

The uniqueness of this map extends beyond its panel installation. Unlike maps cut using CO2- or Fiber lasers, this particular masterpiece is crafted using a water-jet. Prior to slicing the marble slab into continents and islands, the stone is fortified with tempered glass on both sides. Before being positioned on the machine bed, the slab undergoes a central cut through the entire piece via a line saw. This process yields two slabs suitable for map creation. For a more comprehensive understanding of the crafting process behind these marble world maps, a detailed overview is available.

Once the map is meticulously polished, boasting a brilliant shine across its exquisite surface, it's ready for installation on the panel alongside the LED lights. In an upcoming post, we'll provide a glimpse of what the Illuminated Stone World Map looks like when adorning the space of one of our esteemed clients. Stay tuned for more updates!

The crafting process (part 3)

In our latest post, we discussed the initial phases of crafting the illuminated world map, including cutting the two layers of steel with our fiber laser and shaping the acrylic layer responsible for the diffusing light. We also showed how we integrated the LED string into the map, demonstrating the effectiveness of the diffused light through some photos.

Bringing together all components

Once the LED strings have been tested, all components are nearly ready to assemble into a three-layered map. However, before proceeding, we measure and weigh the larger stainless steel parts that will ultimately sit atop the acrylic layers, accounting for potential variations in weight and shape. Following this, we manually drill holes for the magnets that will secure the top layer in place. The photo below illustrates how the system will appear before the stainless steel is added.

Components sercured on wooden panels
Illuminated components sercured on wooden panels

Ensuring safe transit

At MapaWall, our packing process is as crucial as the crafting of the maps itself. We take great care to secure the illuminated world map before shipment to any destination worldwide. Given that the illuminated world map includes two separate steel maps, each weighing approximately 20 kg (44 pounds), we pack each map in its own dedicated carton suitcase. To provide adequate support for these heavy components, we replace the standard carton inlays with lightweight wooden panels within the casing.

Two carton suitcases illuminated world map
Carton suitcases illuminated world map

The photo above offers a glimpse into how the illuminated maps are presented to the carrier, in our case, UPS Capital. While UPS Capital's services may come at a premium, we prioritise the safety and security of our valuable world maps during transit, ensuring they reach their destination without any damage.

We trust that this overview provides insight into the complexity and time-intensive nature of crafting an illuminated map, underscoring its value and worth before ordering an exclusive illuminated world map such as this one.

UPS driver collects a illuminated world map in gift paper
UPS Capital - Collecting one of the illuminated packages in gift paper

The crafting process (part 2)

As demonstrated in the initial phase of crafting this illuminated stainless steel world map, our process started with cutting the base layer from a corten steel plate using our fiber laser. Subsequently, our steel supplier prepared the stainless steel for cutting. Once the top layer was cut and engraved, we proceeded to work on the middle layer composed of acrylic, which houses the LED lights.

Finalising the stainless steel

Following the completion of cutting all stainless steel components, we carefully remove them from the steel plate and machine bed. After a thorough inspection, each piece is dismantled and subjected to a degreasing process. Removal of grease from the surface is essential before manually extracting the smaller islands, which remain attached to the steel plate due to residual connections from the cutting process. The machine parameters were intentionally set to prevent these smaller parts from falling through the machine bed into the collection container, reducing the risk of damage to the steel.

Islands in stainless steel plate after degreasing

Once all components are set aside and degreased, a brief polishing session will take place that gives the surface an extra shine. This not only adds a dazzling finish to the stainless steel but also allows us to identify any unforeseen damages or scratches. In the event of such imperfections, the fiber laser will cut replacement pieces as necessary.

Crafting the acrylic layer for the LED lights

When we start with the fabrication of the acrylic layer that is positioned in the middle of the two metal layers, we start using our CO2 laser. This laser's frequency enables a sharper cut, rendering it more suitable for this task compared to the fiber laser. After configuring all parameters, the acrylic plate is carefully positioned on the machine bed. Next, the CO2 laser not only cuts the contours of the complete world map and its components but also carves out a space with an offset from the side for the eventual placement of the LED-strip. This cutting process demands considerable time as the laser traverses nearly three times the contour distance. Upon completion, the inner and outer pieces must be delicately removed from the machine bed, given the fragility of acrylic which may break if unsupported, especially the outer parts.

Acrylic part with protection foil

Glueing the corten steel to the acrylic

Following the cutting of all acrylic continents and islands, the protective foil is manually peeled off. Each acrylic piece is then fixed to its steel counterpart using a special glue suitable for both acrylic and steel. Precision is key in this stage as there's no room for error; the two parts must align perfectly upon initial contact since the special glue sets immediately. Additionally, careful application of the glue to both surfaces is crucial, ensuring no excess glue remains in areas where the slots will be removed. Any adhesive residue in these areas would complicate the extraction of acrylic cutouts intended for housing the LED-strip. Once all parts are securely bonded and the cutouts are removed, the LED-strips can be inserted into the slots, as depicted in the accompanying photo.

LED-strips are put in position

In our upcoming post next week, we will delve into the third and final phase of producing the illuminated stainless steel world maps. Stay tuned as we witness the assembly of all components into a unified, illuminated map and explore the measures taken to ensure its safe shipment worldwide.

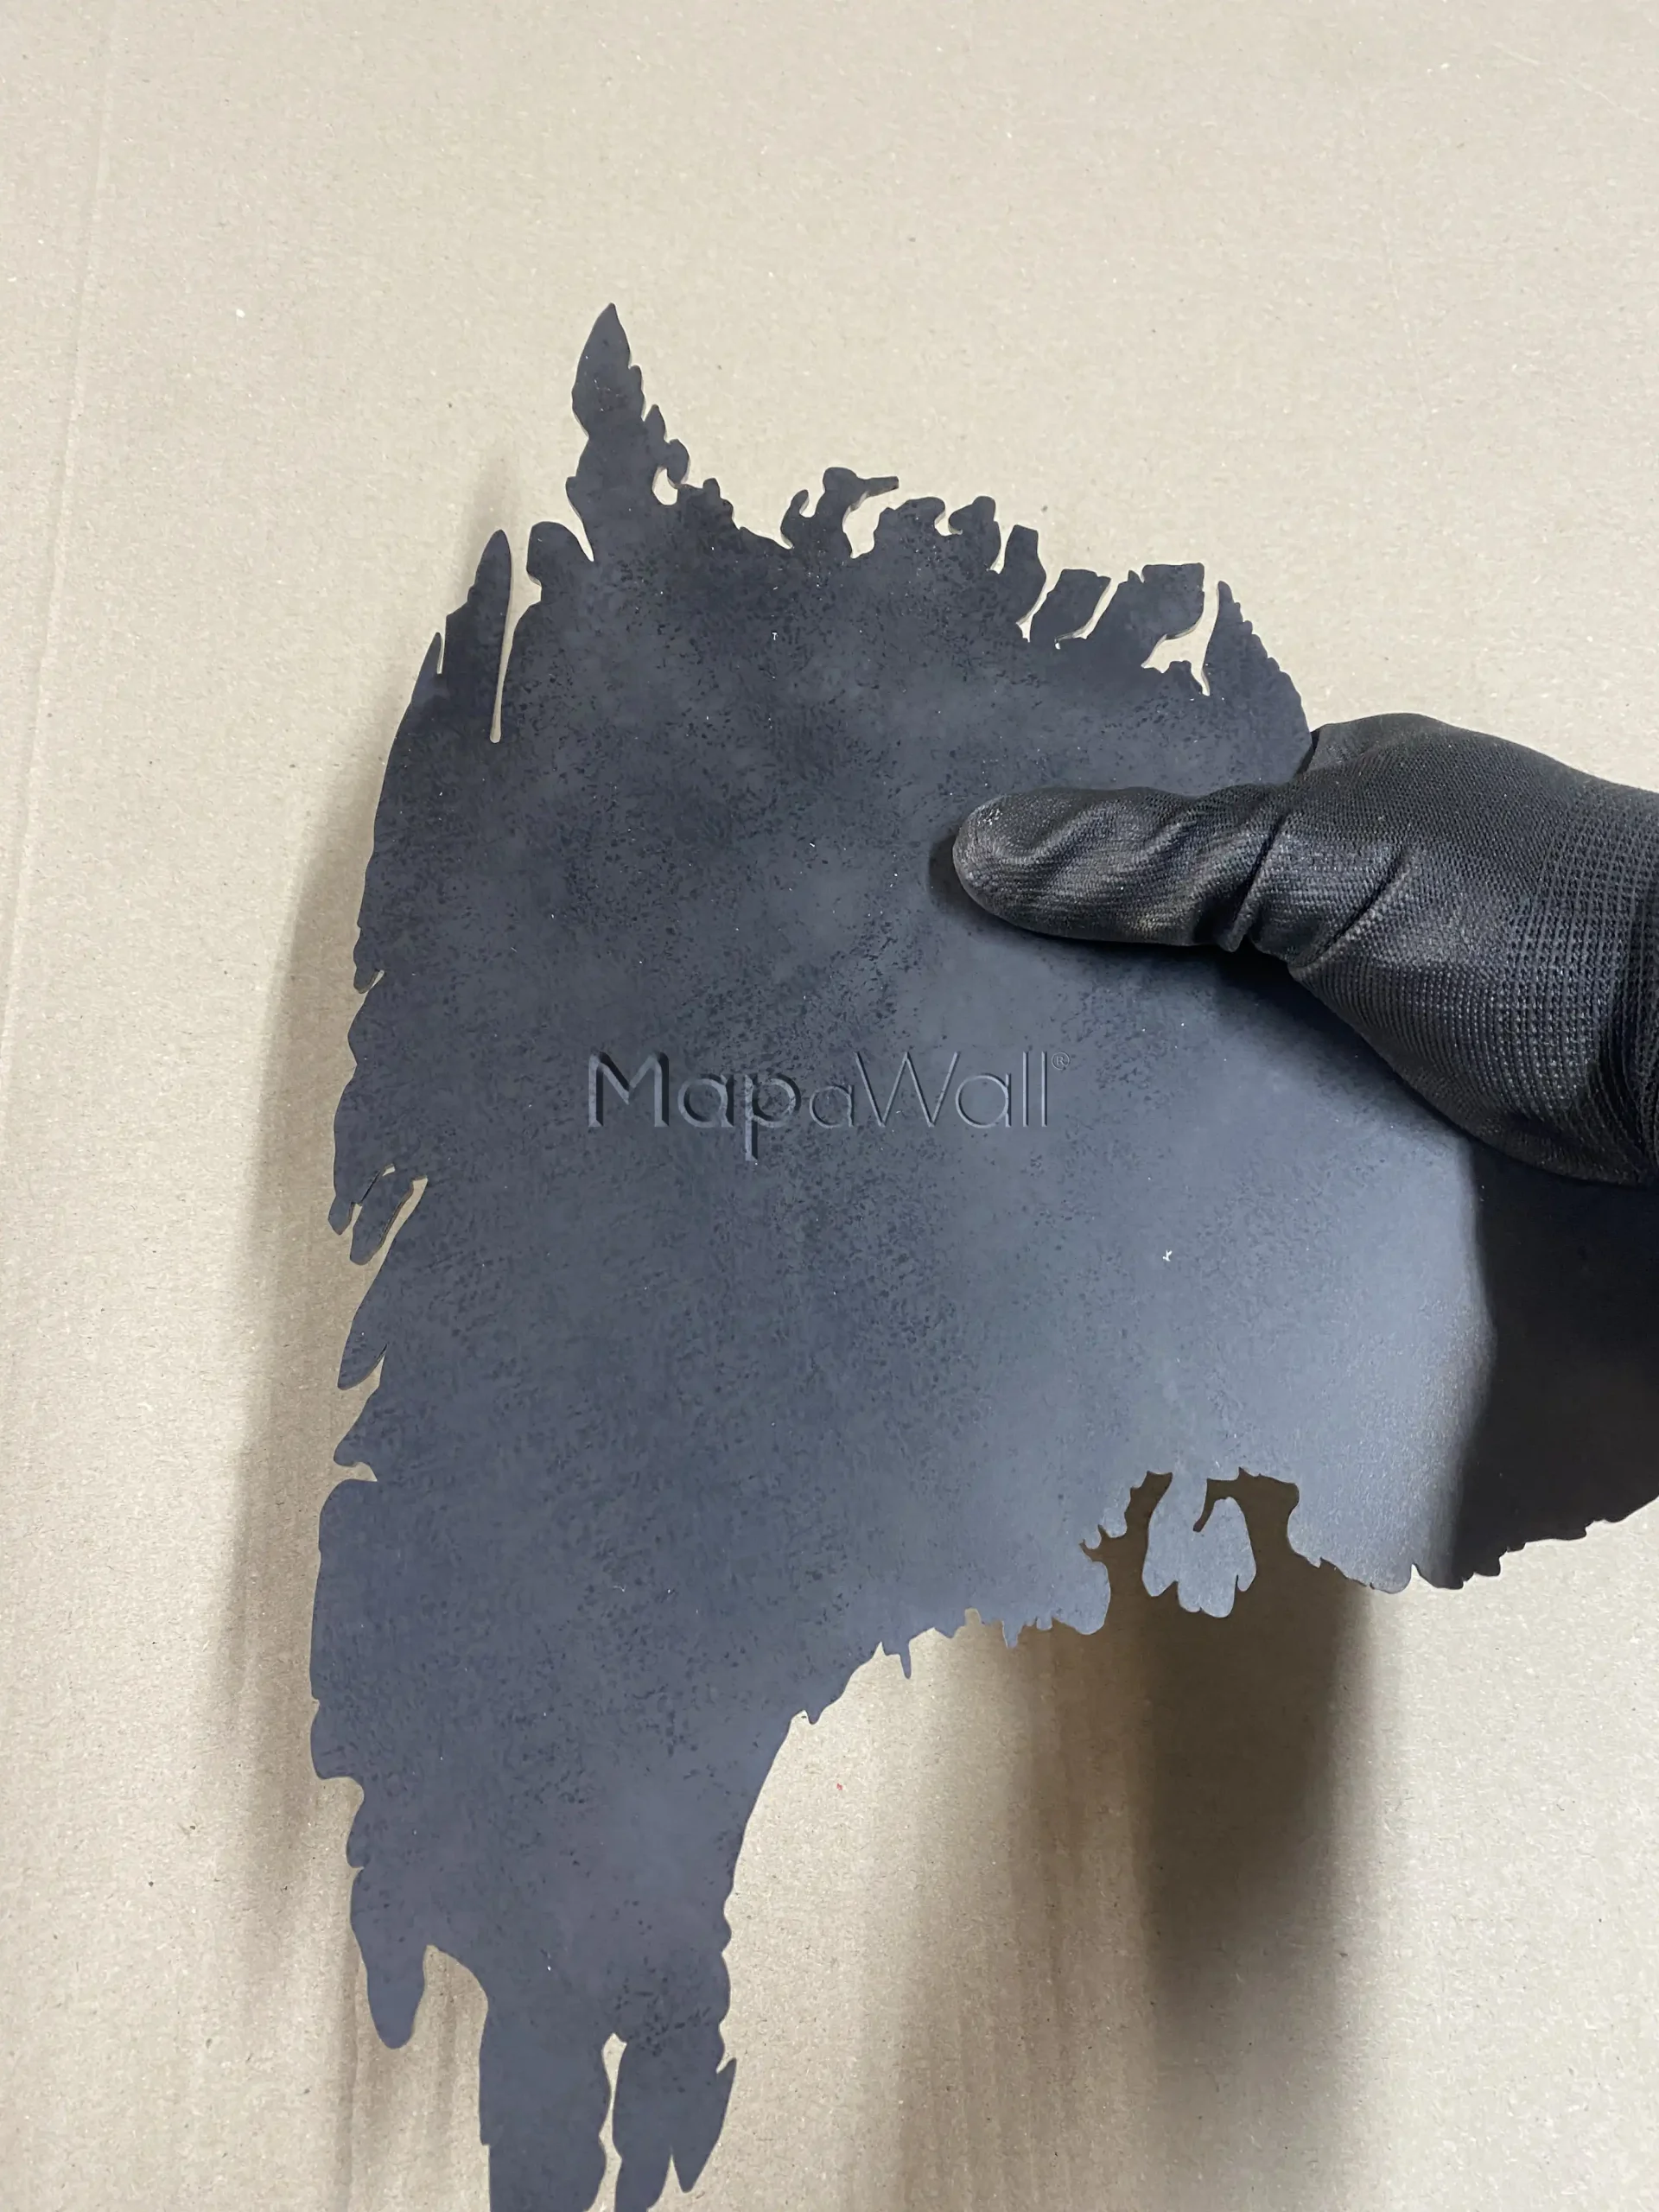
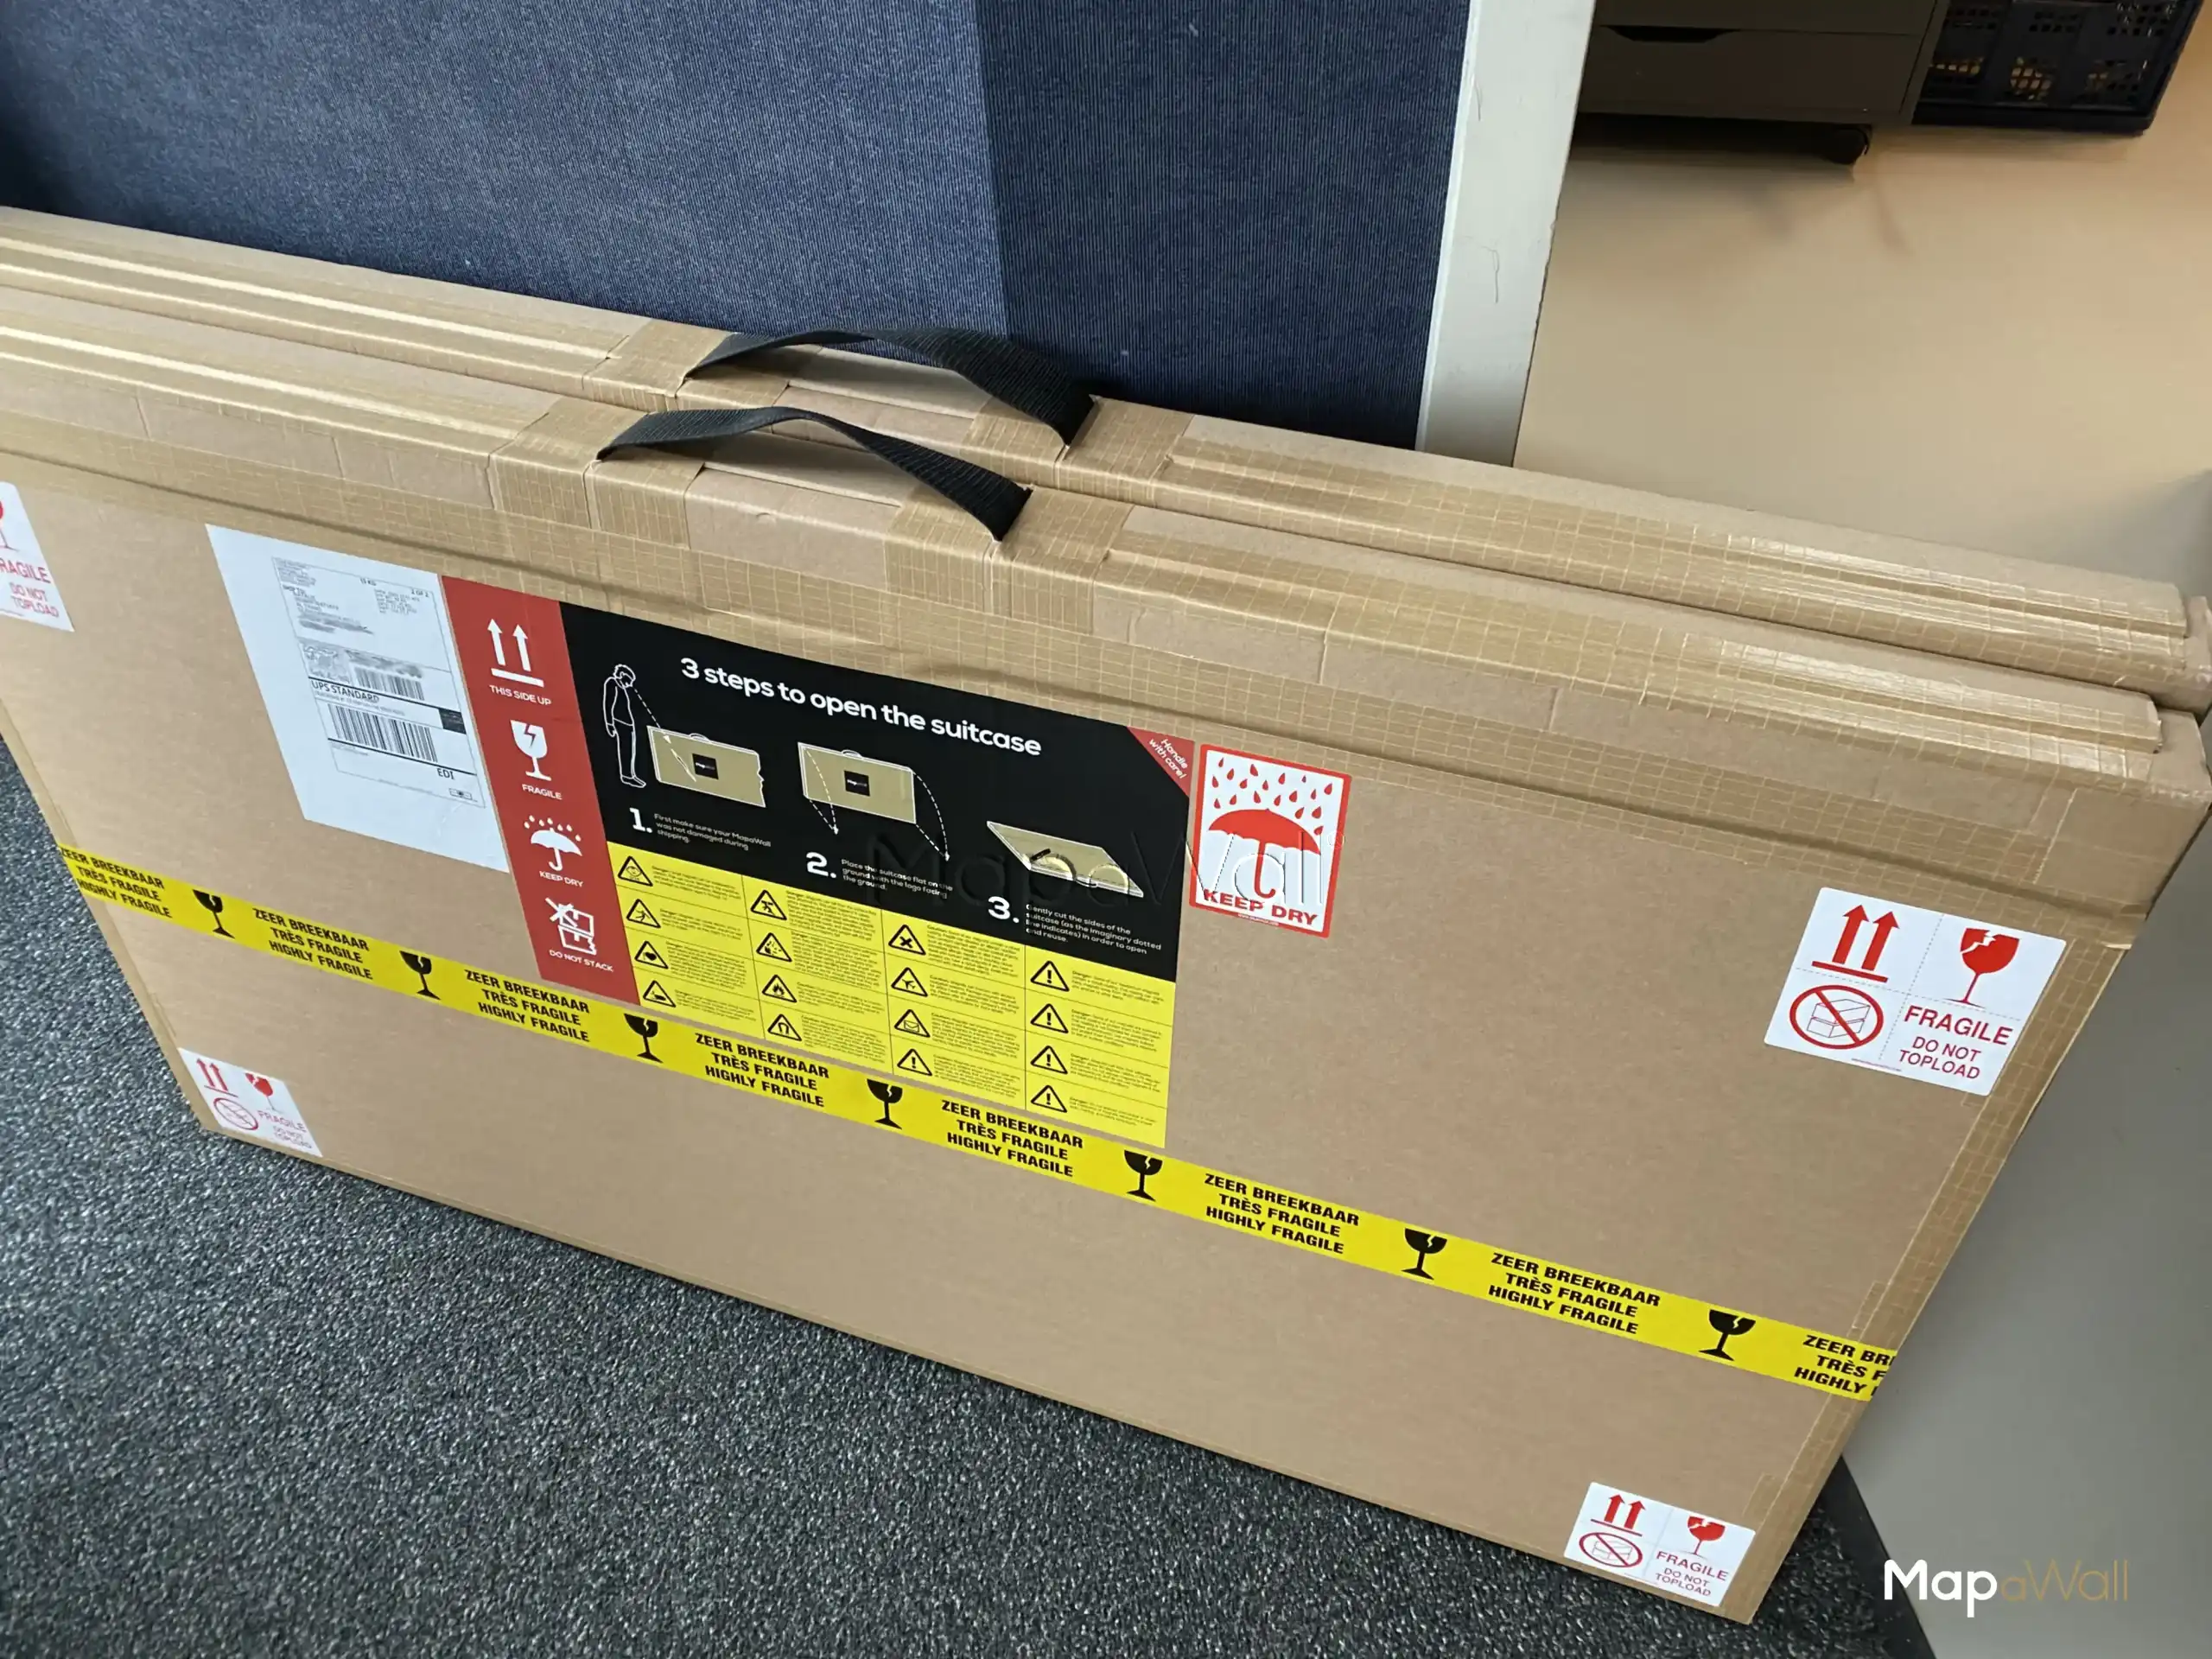
The crafting process (part 1)

In this initial part of a three-part series, we offer insight into the creation process of our exclusive illuminated stainless steel world maps. We take a look into the production of each component and the assembly that transforms them into a singular, magnificent map—a piece that elegantly illuminates your space.

Cutting the corten steel

As you might have already noticed, the illuminated world map consists of three layers of material. The base layer supports the map and serves as part of the magnetic installation kit. The second layer incorporates the LED strip, while the third and final layer serves as the front of the map. Today, we'll take a closer look at the cutting and engraving of the base and top layers, as both are processed using the same machine/technique: fiber laser.

For the base layer, we use a type of industrial steel known as corten steel. Corten steel, although often associated with a rusty appearance, comes in various forms and types. This 2 mm (approximately 0.08 inch) thick corten steel plate is warm rolled and typically features a dark blue to black surface. When we cut the continents and islands with our fiber laser, the edges take on a colour similar to stainless steel. Since the corten steel is primarily visible from the sides, we opt for a more economical steel type rather than stainless steel, which we'll discuss shortly. However, there's another reason why we choose corten steel: its magnetic properties. Given that the corten base layer serves as part of the installation kit, it's crucial for the magnets on the wall to exert sufficient force to support the complete map with all its components. Corten steel boasts excellent magnetic capabilities, making it an ideal choice for this purpose.

The fiber laser cutting the stainless steel for the illuminated world map

Cutting and engraving the stainless steel

After the fiber laser cuts out all continents and islands from the corten steel, the machine's parameters can be adjusted to match those used for cutting and engraving the magnetic stainless steel. However, before cutting, our steel supplier ensures the steel undergoes a finishing process to achieve the desired quality for our illuminated world map. This is achieved through a ceramic sanding process, which makes the appearance and finish of the metal beyond that of brushed steel commonly used for high aesthetic value products.

Following the sanding process, the steel plate is treated with a special oil spray. This oil serves to protect the steel from sparks and small metal fragments when the laser beam impacts the surface. Given the delicate nature of the finish, even the slightest damage from flying debris could compromise the integrity of the piece. Once the fiber laser has cut and engraved all islands and continents, we now have the two metal layers required for the illuminated map.

In the second part, we will focus on fabricating the middle acrylic layer with our CO2 laser and preparing all three layers for assembly into a cohesive whole. If you have any questions about the initial steps of crafting our illuminated map, feel free to ask.

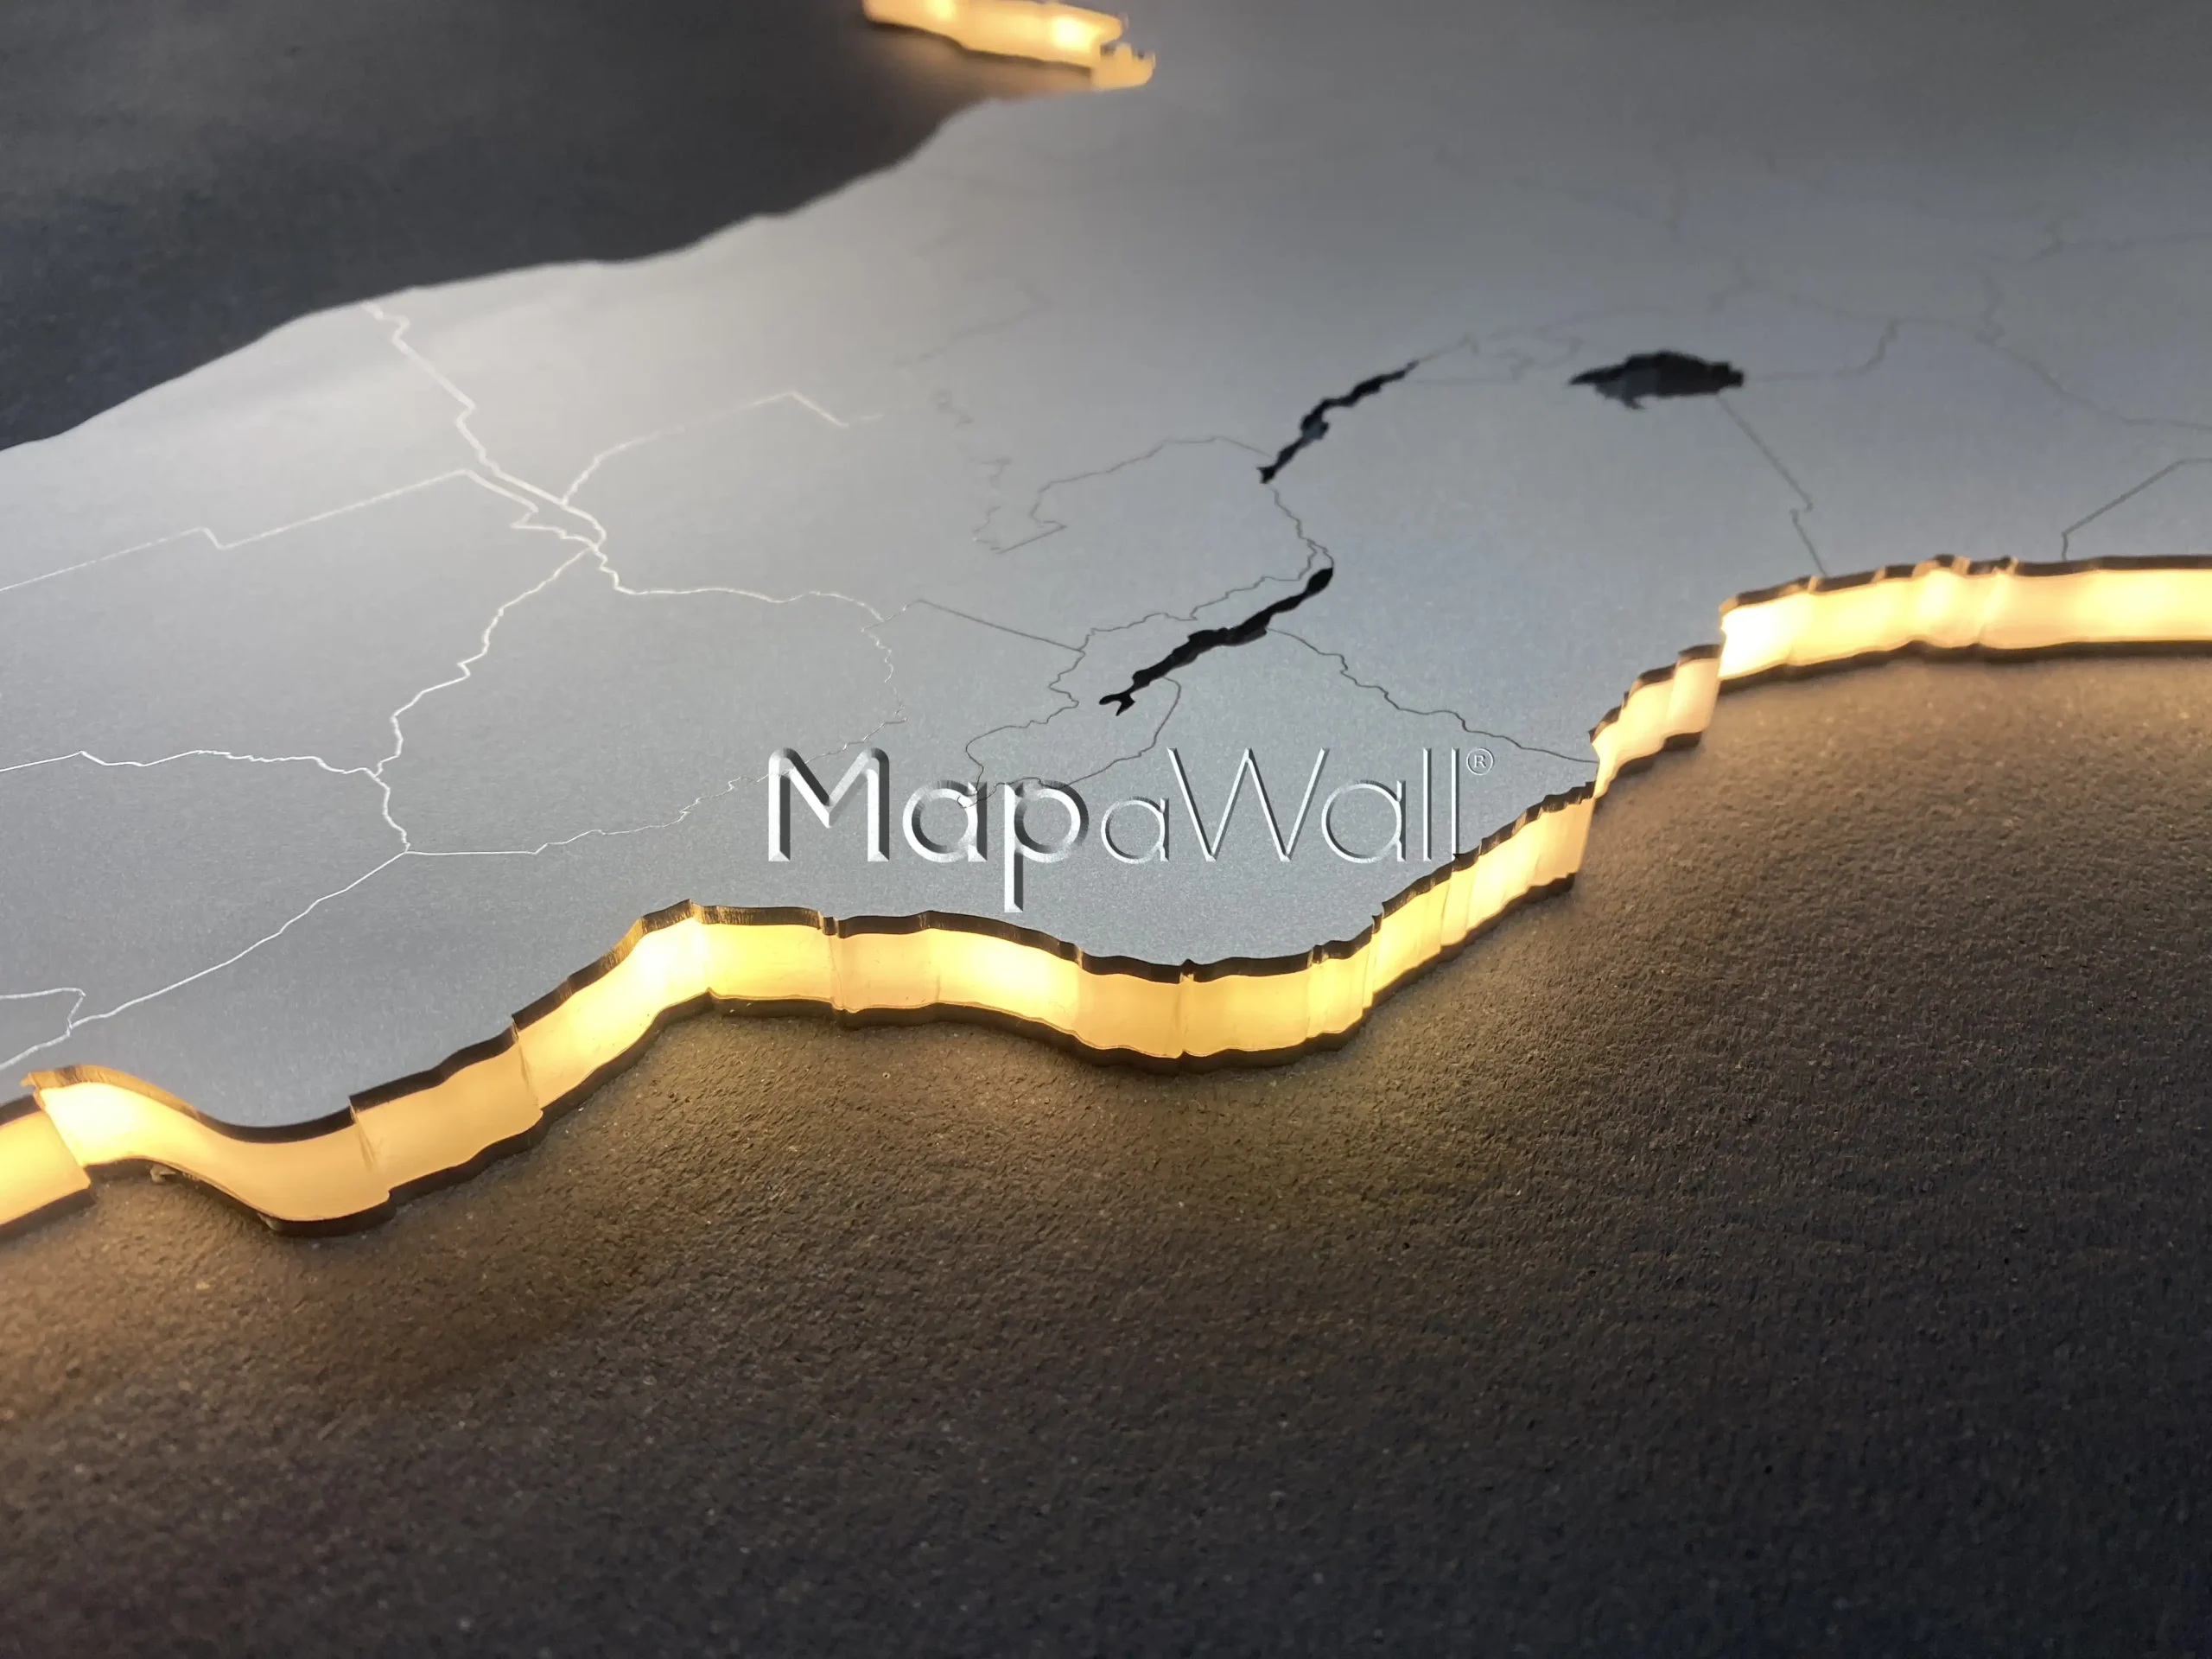
Warm and cold diffused LED

In the previous post we explained how the illuminated stainless steel world maps are crafted and how they are set up in order to spread this beautiful diffused light. In this post we will have a closer look in the difference between warm and cold white.

Close-up photo of the LED illuminated stainless steel world map
Close-up cold white LED illuminated stainless steel world map

Suitable LED-strings

As you might know, all sorts of LED are available on the market. However, not all are suitable for this quality product. The multi coloured LED strings often have too much space between the lights itself. Next to that, the strings are too thick in order to fit the thin acrylic layer. That's why we first have chosen for the thin strings in warm and cold white colour. The specific strings we use have their actual LED-lights really close to each other. That makes the light coming from the strings more even. In the short film underneath you can see an example of how even the light is divided once it shines through the layer of white acrylic.

Close-up warm white light illuminated stainless steel world map

Countless options available

As mentioned above, the coloured LED-strings can be added to this specific type of world map. However, because these strings are only available in a bigger width, the acrylic layer that diffuses the light should also be increased. For anyone that loves colours and that doesn't mind the fact that the map will be a little thicker. You can ask for this option in the comment field at the end of the order process. Also, for any questions regarding the different coloured LED-strings, feel free to contact us through our contact form.

× How can we help you?